Saturday, November 19, 2011

Fabric Covered Buttons

Have you ever made a fabric covered button?  Well if you ever have a use for them, they are so easy to make.  Just buy a kit for the button size you want at the craft store, a bit of extra fabric, and anything else you need is probably lying around your house.

Here is a not so great picture of my kit (Size 36, 7/8")

Use the plastic template to choose where on the fabric you want the center of your button.  I just used a pen around the edges, no one will see them.  Cut out your circles.  Use button maker as directed on box.

Then try not to go CRAZY!  The following pictures may lead you to believe that I went button crazy, and alright you might have a point.  But so far, I have only made buttons that I needed for a project.  I can't tell you about the project yet, because it relates to some Christmas presents.  The buttons however are just a small part and won't give away the gifts, so I figure I'm safe showing you these.


Countdown Christmas!

I know, I can hear you...'CHRISTMAS!?!, but Jenni it isn't even Thanksgiving what are you talking about?'  It isn't as though I have already decorated anything, I have just been planning all of my home made gifts and planned store bought gifts (Black Friday rapidly approaches), that I will be doing this year.  I have purchased many supplies and also began to plan my Christmas Party; blog to follow, sometime in mid December, and I am making several home made decorations for that as well.  I also took complete advantage of all the Veterans Day sales for Christmas decorations, I won't decorate my house until the weekend after Thanksgiving, but I am almost completely ready to just do it in one really long day.

First I Had purchased some red and white yarn (when I bought yarn for the Halloween Yarn Spider Webs), planning on making smaller versions of those yarn balls in red and white for this party.  However, I am not yet ready to untangle that much yarn.  So inspired by a yarn wreath I saw for sale online (http://www.etsy.com/listing/84593359/15-christmas-candy-cane-wreath-with), I decided to make one.  Before I began wrapping my foam wreath form, I balled a bunch of yarn one softball sized ball for each color.  Then I began wrapping very precisely for each section in three layers.  Try as best as you can to spiral the yarn very neatly, this will give the wreath a much more uniform look.  I also happened to see these fake flowers at the craft store they are all glued to wires (though it would have been easier if they were longer wires, the back is definitely jerry-rigged with extra pieces of wire) and decided I could use them to accent my wreath.

Supplies:
Foam Wreath
Yarn
Accent flowers or ribbon
patience (this took 4 or 5 hours while catching up on my DVR'd shows)

Then I discovered this awesome and super easy DIY Glitter Coated (but on the inside) ornament project.

Full Tutorial here

http://thegreenbeanscrafterole.blogspot.com/2010/12/all-that-glittersminus-mess.html

Supplies:
Floor Polish (I used Pledge Floor Care Clean & Shine) ($3)
Clear Ornaments ($3 per box)
Fine Glitter ($3-$9)
Q-Tips
Funnel (you can use an envelope with a corner cut off if need be)


The red and silver are for the party, the purple that is just for me.  I love purple!

These took less than an hour, and I want to make more so badly.  Maybe I will hit up the Hobby Lobby tomorrow, because I am almost out of glitter, and I need more ornaments.  Plus, my sister has already requested some in purple, blue and silver.

I have so many projects between now and Christmas.  I will show you as many as I can before, and tell you all about everything after the Holidays.  I will do my best to stay more current with projects as they happen.

Halloween Party 2011

I’ve been so busy doing fun projects I haven’t had time to sit down and tell you all the fun things that I have been up to.  First, a few weeks ago was Halloween, I helped some friends host a party at their house and I used a project I found on Pinterest.com to make some party decorations.

Yarn Spider Webs

First, the supplies:

Yarn (I chose Orange, Purple, and Black)
Ribbon
Plastic Spiders (I used spider rings)
Modge Podge (or do what I did and make your own= 50% glue, 50% Water; and mix)
Balloons 
Scissors
A large trashbag (I used a 45 gallon)
Curtain rod/broom/sturdy long stick (whatever you have)
2 chairs

Then I set up a place for all my balloons to dry.  I secured the curtain rod to the chairs using some ribbon tied around enough times to keep it from sliding.  Then I slice the trash bag from the opening on both sides, to create one giant drop cloth (by the way this is my new favorite way to create a drop cloth, I will be using this a lot when I have kids).  Now you can see I pre-tied all the balloons to the curtain rod with ribbon.  Hindsight being what it is, I don't know if I would have done this had I known how often that ribbon got in my way while I tried to twist sticky yarn around the balloons; that being said it did make the process go faster, because I didn't have to stop every time to cut and tie ribbon with my hands covered in glue (maybe tie the ribbon to the rod and not the balloon until it is wrapped with yarn) .  The ribbon around the curtain rod was wrapped around twice followed by a slip knot.   
This is where it gets really messy.  My little 2 cups of homemade modgepodge was barely enough to do three balloons.  I learned quickly to make bigger batches.  

Have you ever been working with yarn and suddenly you had a huge knot to dislodge that felt like it took forever?  Now imagine adding glue to the equation.  Yeah, those moments were frustrating.  The key I discovered was to diligently wrap the yarn around three fingers, as much as you can.  Cut the yarn, and VERY CAREFULLY dip it into your glue mixture and keep it in the loop that you began with.  It is not impossible if you get a knot, I untangled every sticky nightmare, but GRRRRRR!  

Then wrap your balloon leaving a 1 to 2 inch diameter circle open, around the balloon's knot.  Once you hang the finished product leave to dry for at least 24 hours.  Make sure the drop cloth is spread out beneath, they will continue to drip for quite a while.  

**I didn't do this for mine, but I discovered a hint after the fact, to go back over all the yarn again using a paint brush to add an extra coat of glue.  Mine could have used a bit more for stiffness.**

Now this step is IMPORTANT...after 24 hours of drying, as carefully as you can, use your fingers and thumb to push the balloon (still inflated) inwards away from the yarn ball.  The yarn will have dried to the balloon, and if you just pop the balloon the yarn will deflate and twist with the balloon, destroying the perfect shape you had.  

When you are sure that you have adequately done the previous step, because one spot missed can be a killer,  use a pin (from your pin cushion) and slowly make a hole in the balloon, I kind of roll it slowly in a circle, once inserted, making it a slightly larger hole; if you do it right the balloon will slowly deflate through the semi-controlled hole that you made.  This will help you to find problems before they become disasters. 

When you are done gently add the plastic spiders (spider rings).
  
Another thing to know, these are SUPER FRAGILE.  I placed them all in a box with the top open, and I lost three in transit to the party location, due to complete structural failure and crushing.  I did eventually find success with putting each one in their own separate plastic grocery bag, but I will still not be shocked if they don't make it to next Halloween.

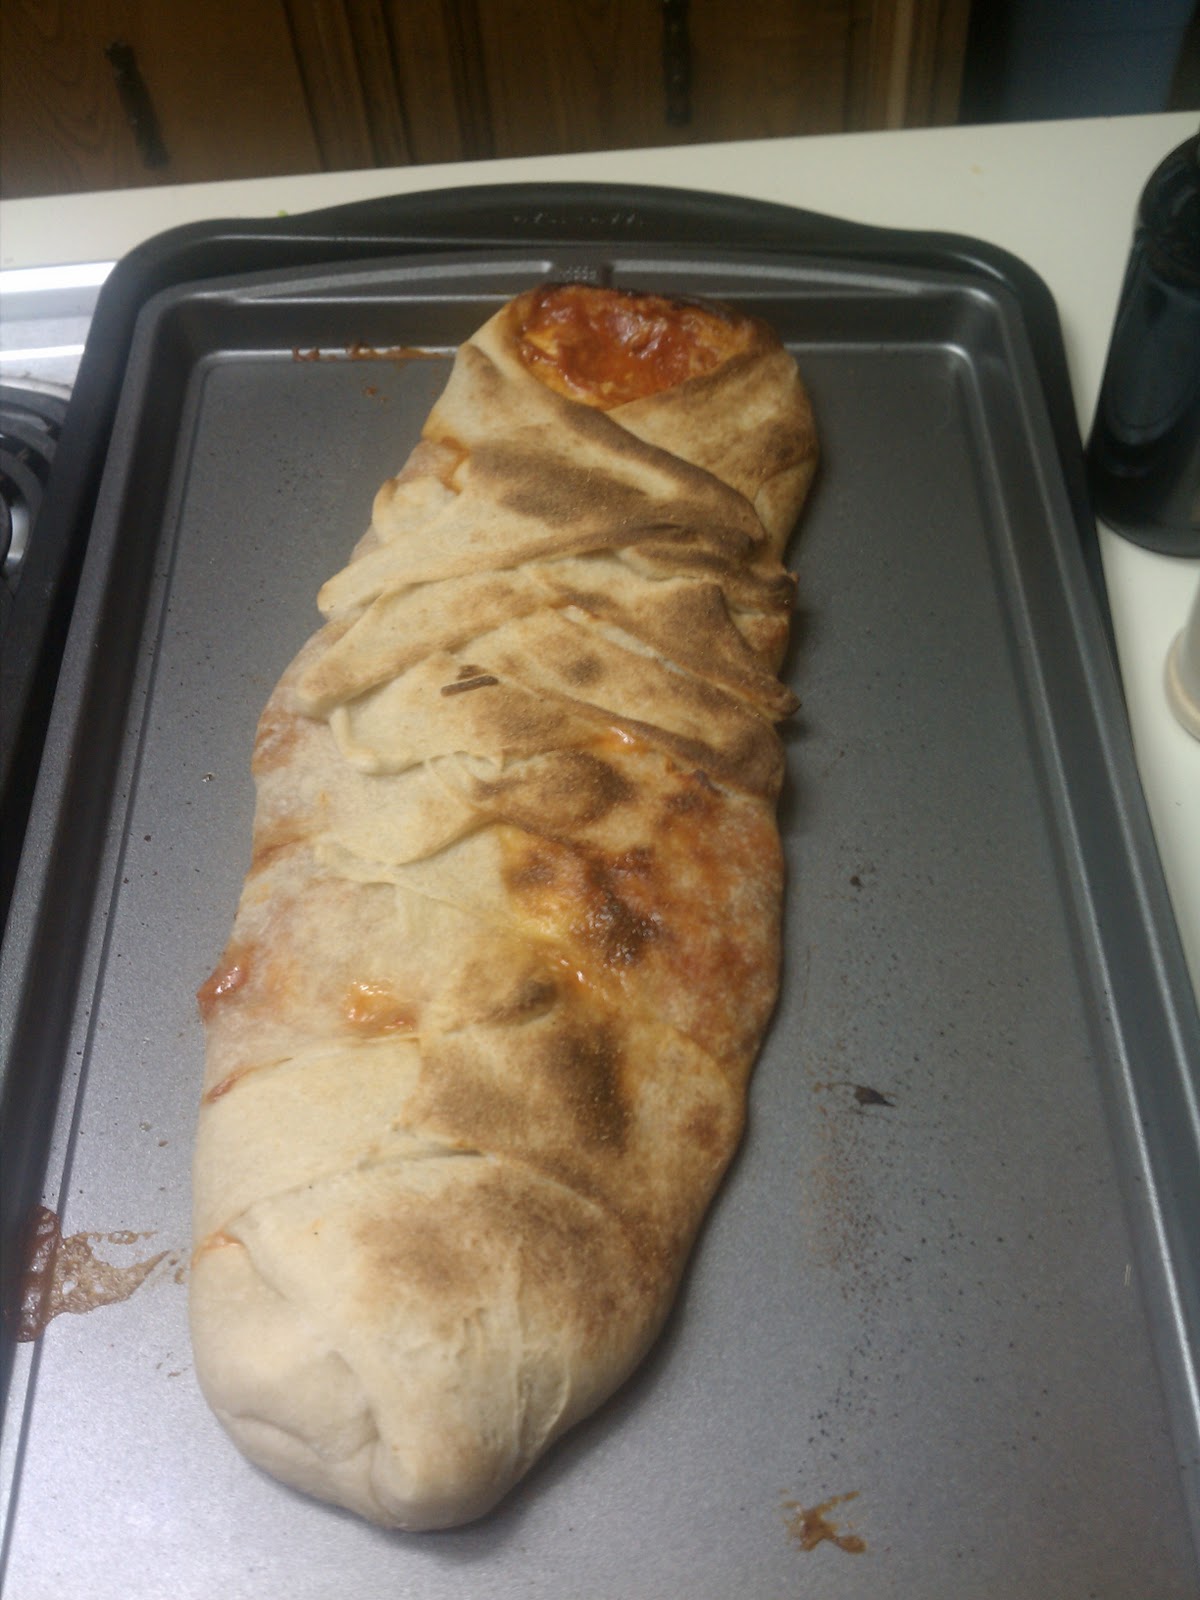
I also did most of the cooking for the party.  I made guacamole and laid it out on a platter to look as though a pumpkin (which I carved earlier that day) was puking the guac. onto the platter.  We had mummy dogs, and bone sticks with blood sauce (marinara), and a mummified calzone (made two, one pepperoni and one cheese).  


I froze (the night before) orange juice with grenadine and a bit of red food coloring in an inside out and brand new rubber kitchen glove.  Then I made a drink I found online called Sewer Water, find this recipe it is delicious!  I served the Sewer Water in a plastic Cauldron and removed the frozen hand (though most of the fingers fell off) and floated all of the pieces in the water.  It looked repulsive, but just telling you about it makes me want some.  I do not drink often, but I imbibed A LOT of that stuff.  We  soaked an entire jar of cherries in Everclear (not sure if that is right, like I said I'm not a big drinker), the night before, amazing! We also hollowed out a bunch of oranges and and filled the halved peels with jello shots.  It was a great party!

Monday, October 17, 2011

Musing - a calm, lengthy, intent consideration

I desperately want sleep, the sugar high I'm on will not allow my brain to shut down; it's five in the morning and all I can think is, I should start a blog. I want a place where I can not only show off the fun stuff that I do to my family and friends, but also so that I can keep a personal record of who I am, who I become and the journey that I take to get there; and lets be honest, if no one ever reads this it isn't the end of my world, this is mostly for me anyway. Really all I want is a record of the things that I have done and will do, and the experiences that I will have on my road to becoming who I want to be and how I want to live each day. The problem is I want to do a lot, I want to learn a lot, and I want to see...well, everything. Now on a more realistic level I have several interests that I would like to pursue, some I have already begun to learn about and some that stand out on my gigantic list of things I have yet to do. Currently I am interested in many things, I love craft projects, cooking, gardening, photography, nature, reading, writing, movies, music, party planning, I'm doing my best to love working out, and I have been known to geek out to video games and science fiction, or spend hours on pinterest.com (addiction may be a better way to say this). I also have denied my inner girl for a very long time and I am finally attempting to set her free, it is a work in progress. Another work in progress is that my husband and I are trying to have a baby, no luck yet, but practice makes perfect. There are many other things in progress, but we will come to those another day. For now, just know that I am trying a little every day to do things that I enjoy, that help me grow and that lead me closer to my goals. Discovering daily, Me.

Now that I have rambled on for a bit, perhaps I should properly introduce myself. My name is Jennifer, I live in North Texas (currently), but my husband and I greatly hope in the few years that we will be able to move to Oregon, I'm sure there will be more on that later. I am thirty one years old and I have so much that I want to accomplish in life that I don't feel I should waste another minute. And I don't mean to say that there won't be days where my report to you is simply, 'hey guys, spent a beautiful day lounging on my couch watching TV and eating chocolate like it is going out of style'. Those days have value, and I am not giving them up. I have a day to day job, in an industry that I never intended on working in, and while I am very good at my job, it is not remotely what I want to do. I have a plan to take all my interests listed above and many others and turn it into a career. I will explain someday when I tell you about my plans for Oregon, but I feel it needs a full post (or a thousand) for you to truly understand how determined I am to make the life of MY dreams a reality. Life isn't perfect and bad things can, do , and will happen; trouble finds me, but that doesn't mean I'm not going to fight like mad to get what I want.

I have so much more I want to say, and if you are going to read this you should understand just how great I truly am at babbling and side tracks. I can only hope this website doesn't put a character cap on my posts, or there are going to be many multiple page entries. I know this because I have done one blog before on weight watchers, and almost every post I made I was told I had to shorten my entry. This is only short because I should really be in bed at this point. Next time I will explain the sugar high, and all the fun projects that I have done recently, as well as the ones I know are coming up; but now I require sleep.